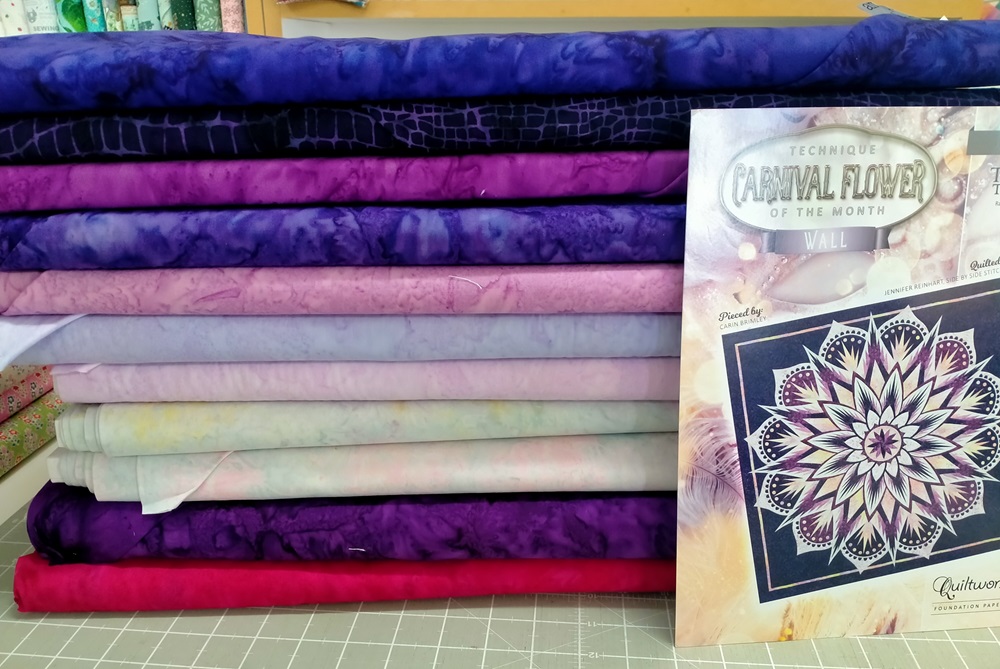
This is a look at what goes into creating a Quiltworx kit at Cynthia’s Ark. There is a lot more work to creating a kit that help you create the perfect quilt.
Step 1. The customer picks the pattern. They may or may not have a colourway in mind. That is where Google is helpful, you type the pattern name into the search bar and see what comes up. Also you can book an appointment with me to use Quiltster (a program that allows you to colour in the pattern you selected.) This can take you down a rabbit hole of many possibilities, until you end up with what you want.
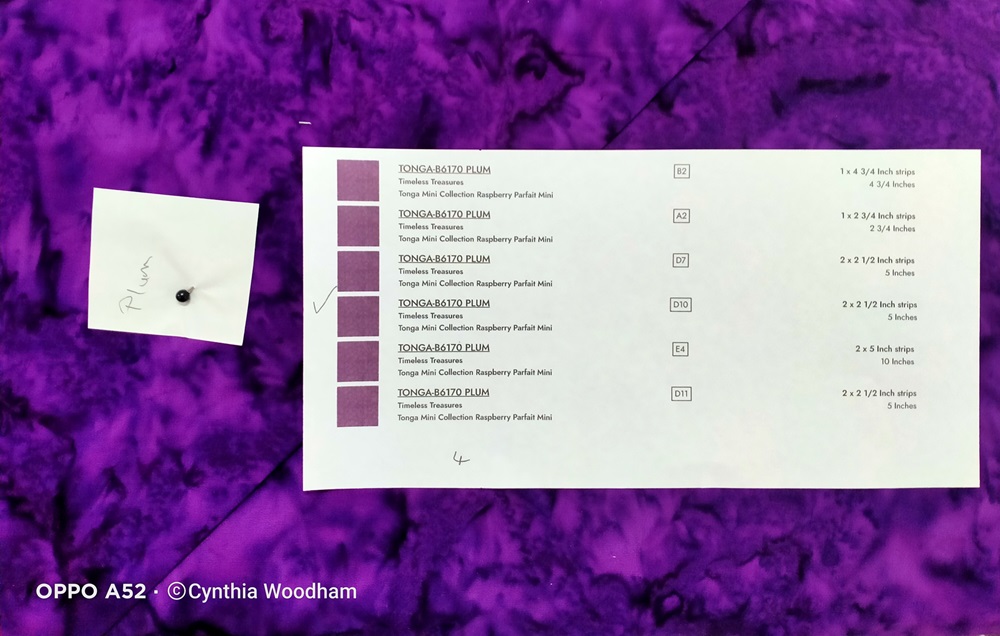
Step 2. Once we have a colourway selected or a coloured in version from Quiltster we head into the shop to select fabrics. If we are using Quiltster we will get a cutting guide to aids me cutting the customers kit. Both ways work out the same at the end but the first one will take me more time as I have to go through the pattern to cut the strips. We pull fabrics from the shop until the customer is happy with their colour selection and I label the bolts to match the colours on the print out or the fabric requirements on the back of the pattern. Then the customer can leave the rest to me to cut and label. Step 1 and 2 could take a couple of hours or could take days depending on the customer. Sometimes things just slip into place, other times the customer needs more time to think about colours and how they want the quilt to look. I had one customer who had selected her fabrics and I had them piled up ready to cut, but she came back 2 days later and we started from scratch. She ended up with a total different colourway, still looked beautiful once finished.
Step 3. Now I am ready to start cutting the fabric. This is where Quiltster saves me heaps of time, if the customer has coloured it in using Quiltster I can print out the cutting instructions. I match the label bolt with the matching colour on the print out, cut each one out so I can label each section as I cut it.
They get placed by the cutting mat and I cut each one as per the cutting instructions. Then paperclip the printed out slip to the strip and put them in one pile. As I am cutting the fabric I am writing down how much is use and the price, so I can work out the cost to the customer. Once the fabric cutting is completed I put the finished piles to one side. Depending on how many fabric I have to cut, this could take me 3-12 hours. There can be many variations leading to kits having in excess of 20+ metres, so you can image the time it takes to cut all that.

Step 4. Once all the fabric is cut and all in their piles, I need to sort all the cut fabric into their sections to match the pattern. Let say they are going to do Section A they open their pattern to that section and open bag A and the strips are already cut. No need for them to work out which colour goes where and how many strips they need to cut, as I have done it already. Plus with everything labelled, they are ready to move to the next set of cutting.
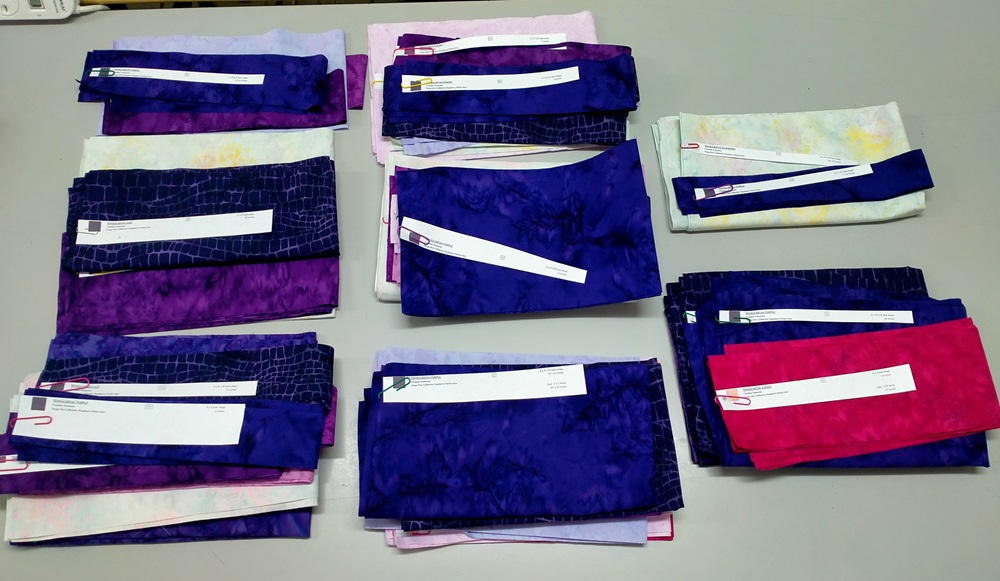
Step 5. Now each section is bagged up ready to be used.
Step 6. All that is left is to calculate the fabric cost for the kit, and let them know. They only pay for the fabric used in the kit. All the stuff I have to do to get their kit to this stage is part of the service. There’s no extra charges involved. The customer is then ready for the class if they have booked in to one or take it home and work on their own.
Until next Time Keep Stitching
Cynthia
One response
And I really do appreciate everything behind the scenes that you do for me to be ready for my first class.